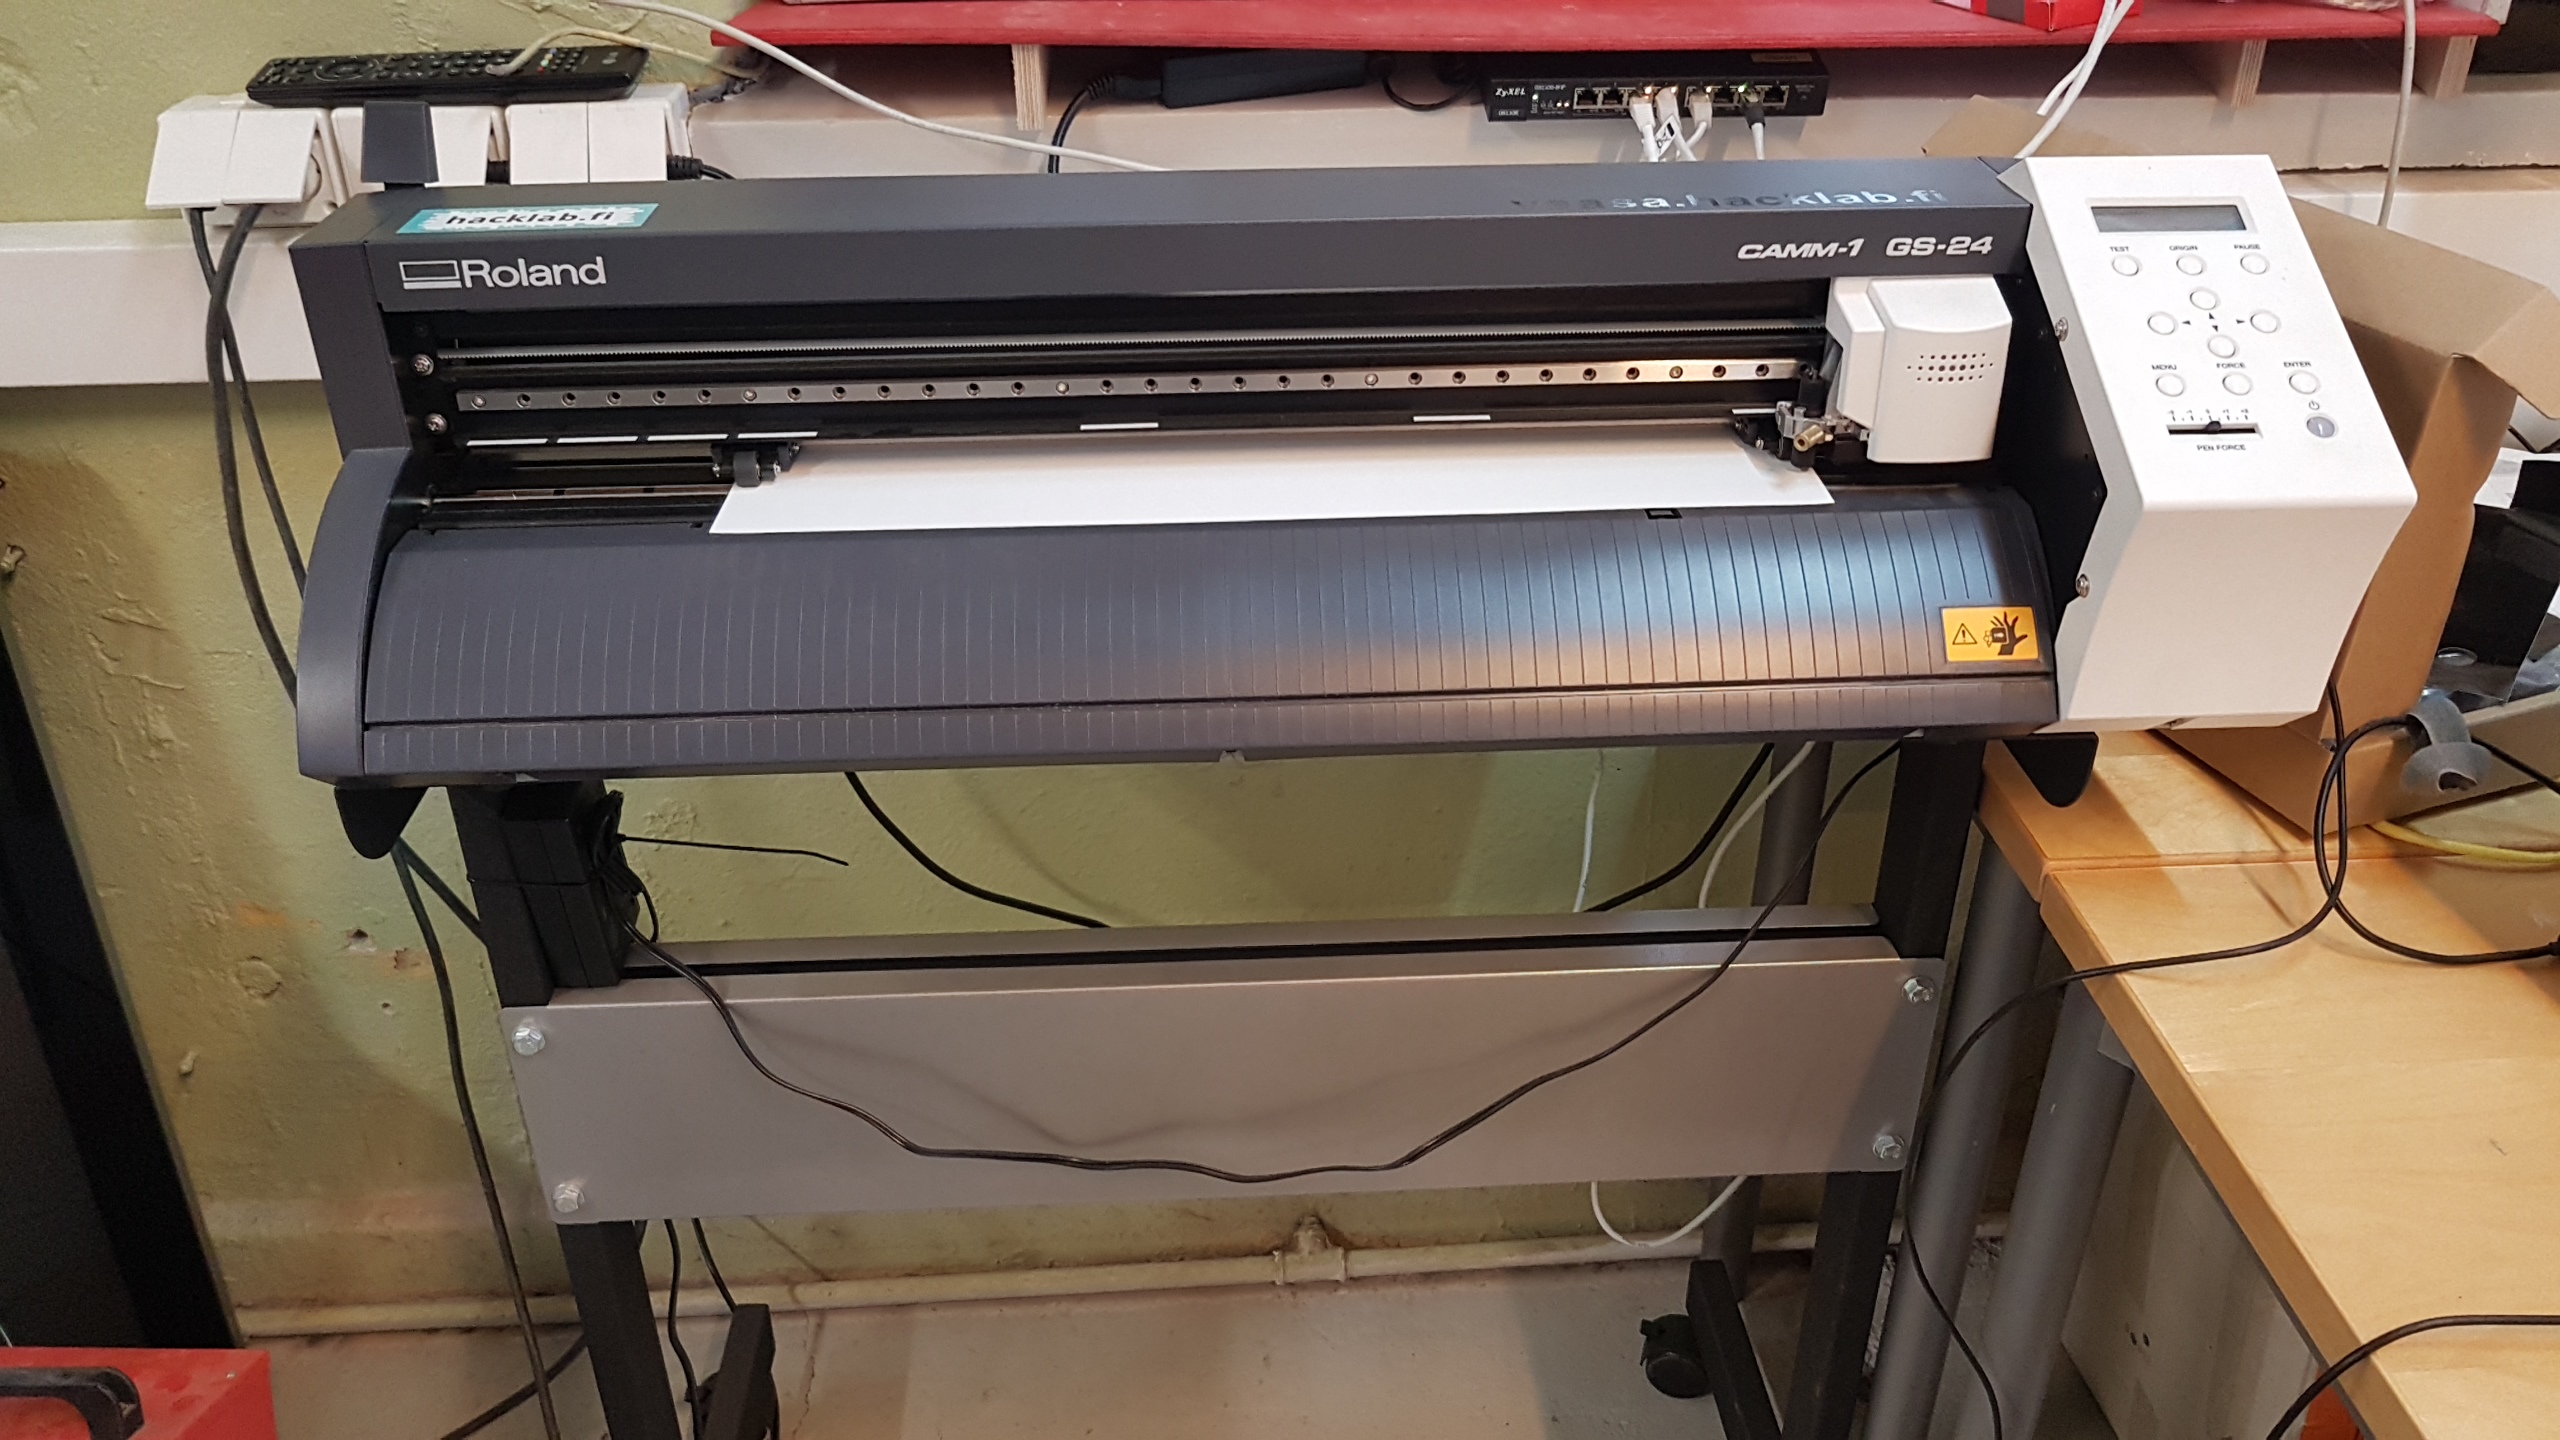
Making your own prints to stickers or T-shirts using the Roland GS-24 vinyl cutter is very simple. Hacklab has all the needed materials – the cutter, vinyl sticker or heat transfer film and a computer with pre-installed software. All you need to have is and an idea.

Roland Cutstudio is installed on the computer next to the vinyl cutter. That is the software to use when creating the simple prints. In the Cutstudio you can create basic shapes and texts for printing.
1. Open cutstudio
2. Create your print – remember to mirror your print when making fabric prints
3. Prepare the Roland vinyl Cutter:
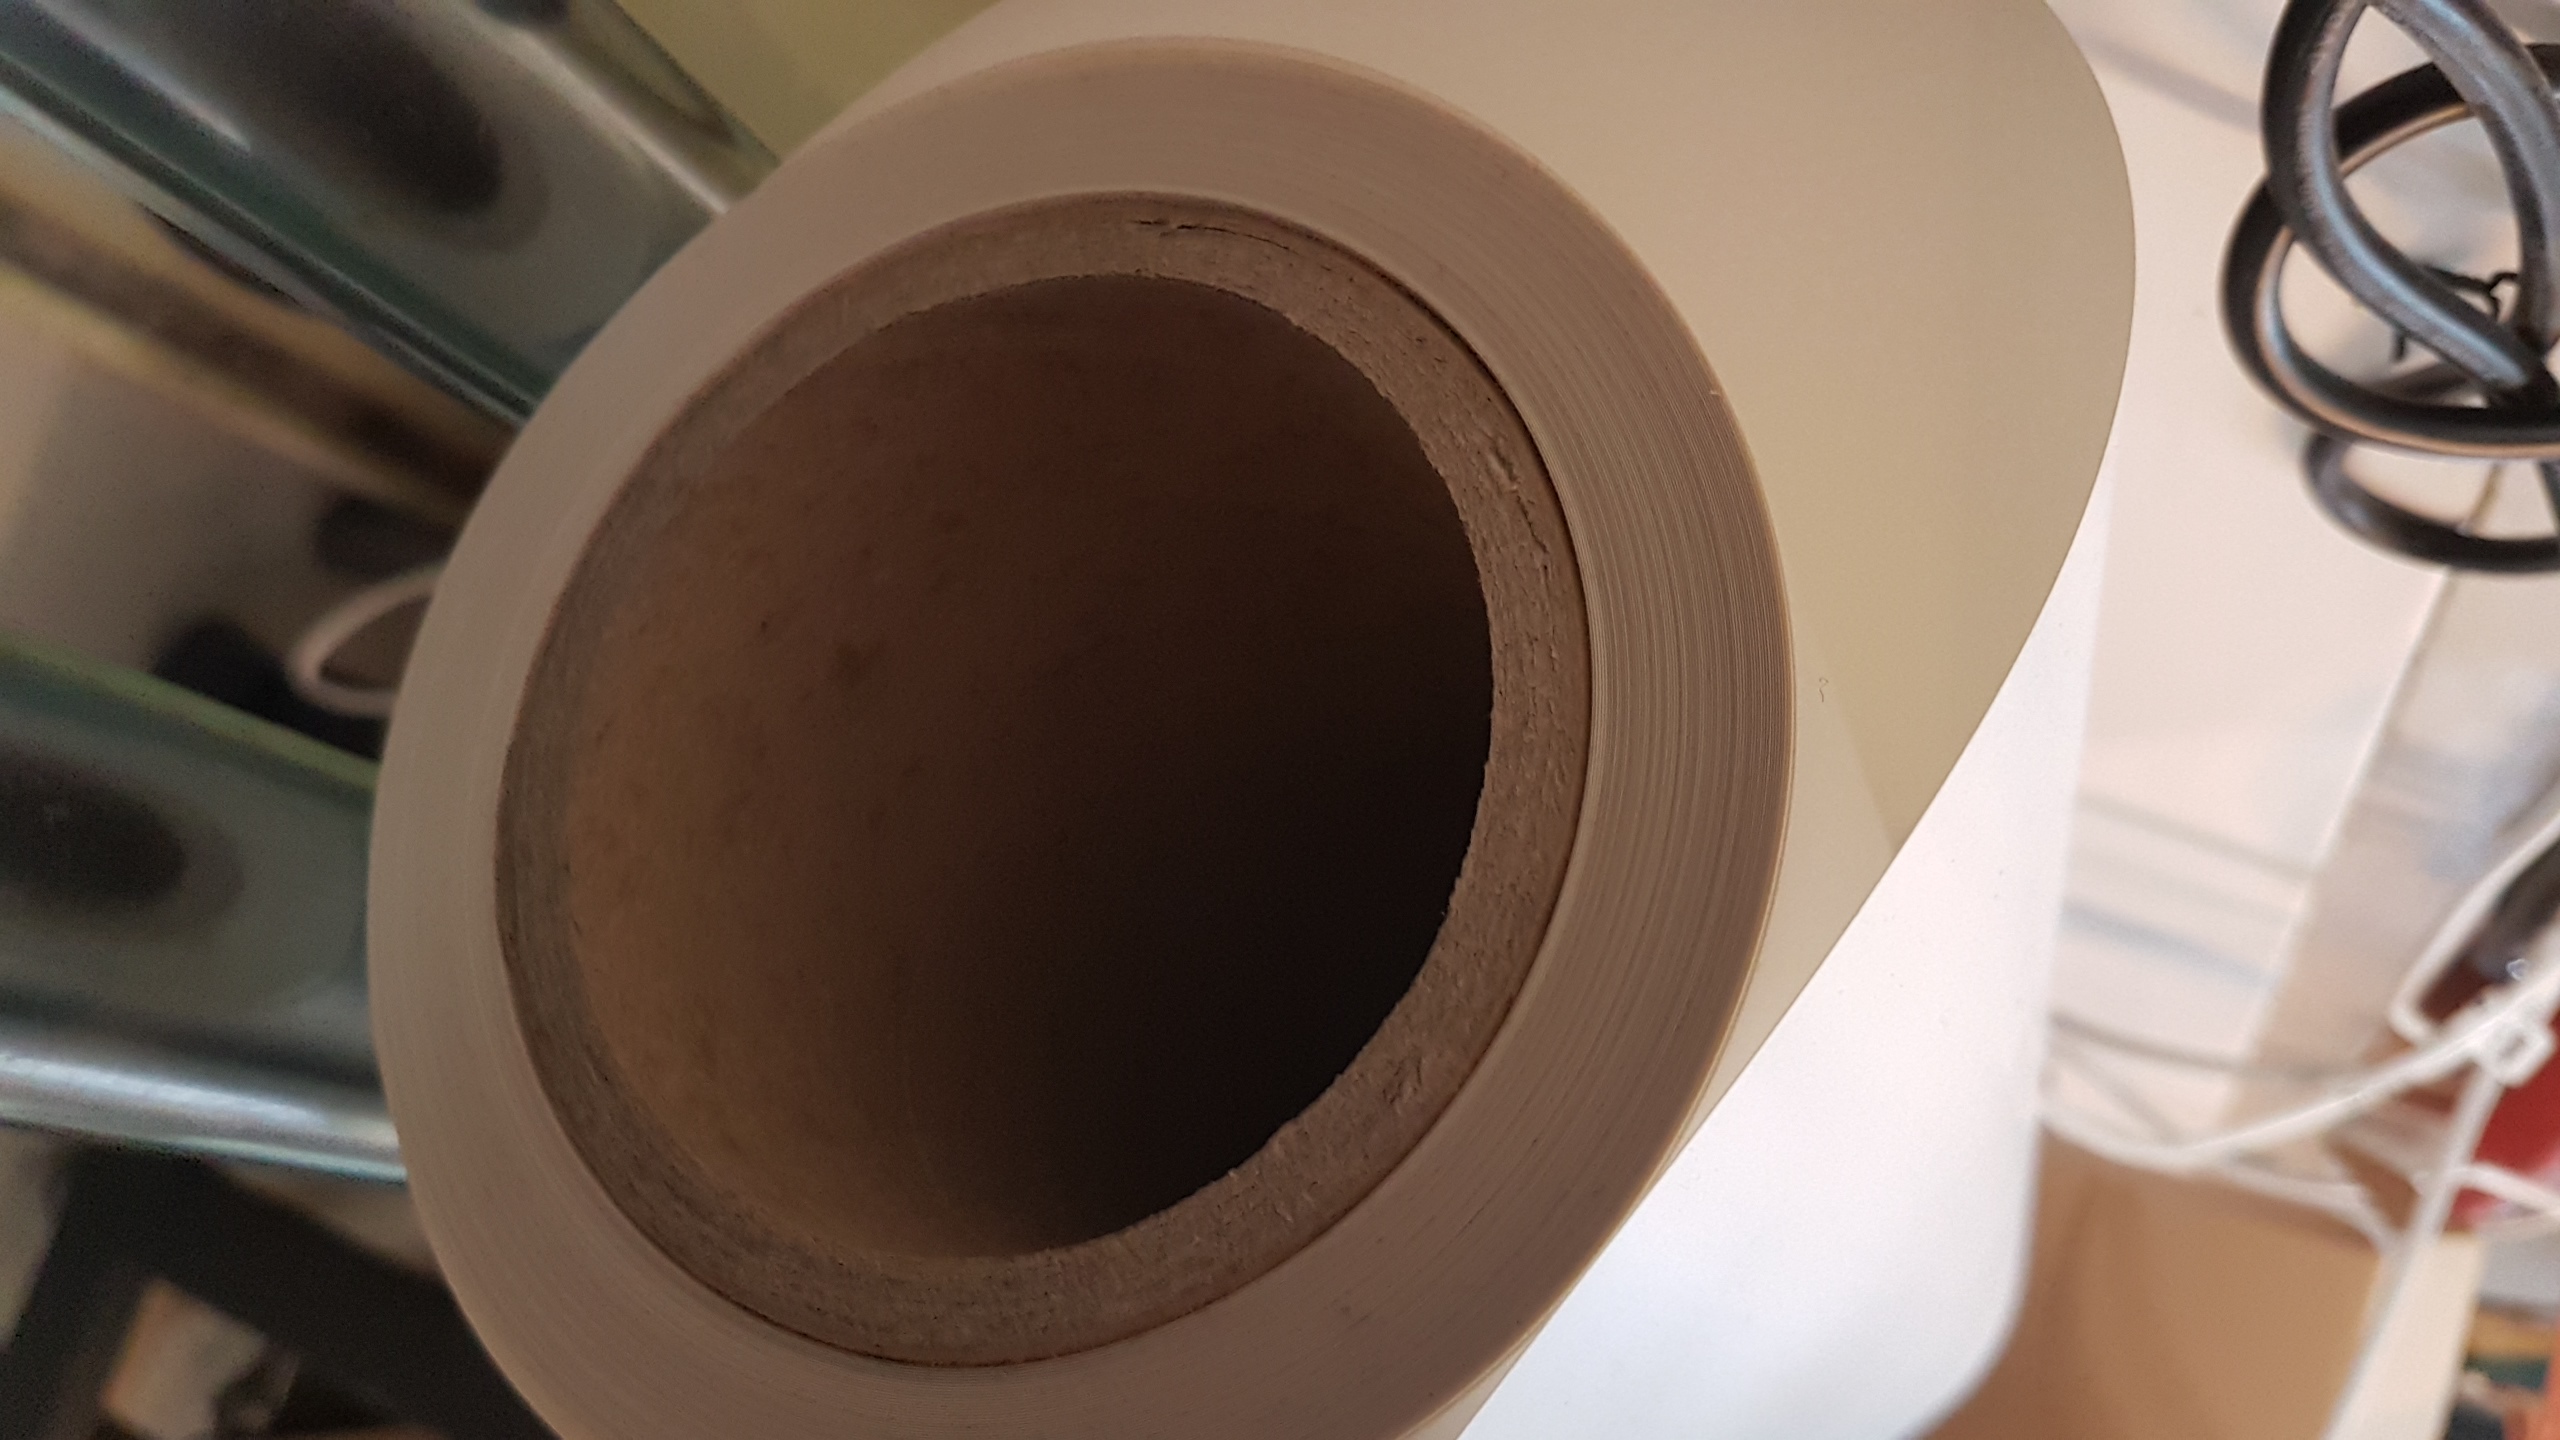
- Take the vinyl sticker or heat transfer film and install it at the back of the machine, the side that will be cutted upwards.
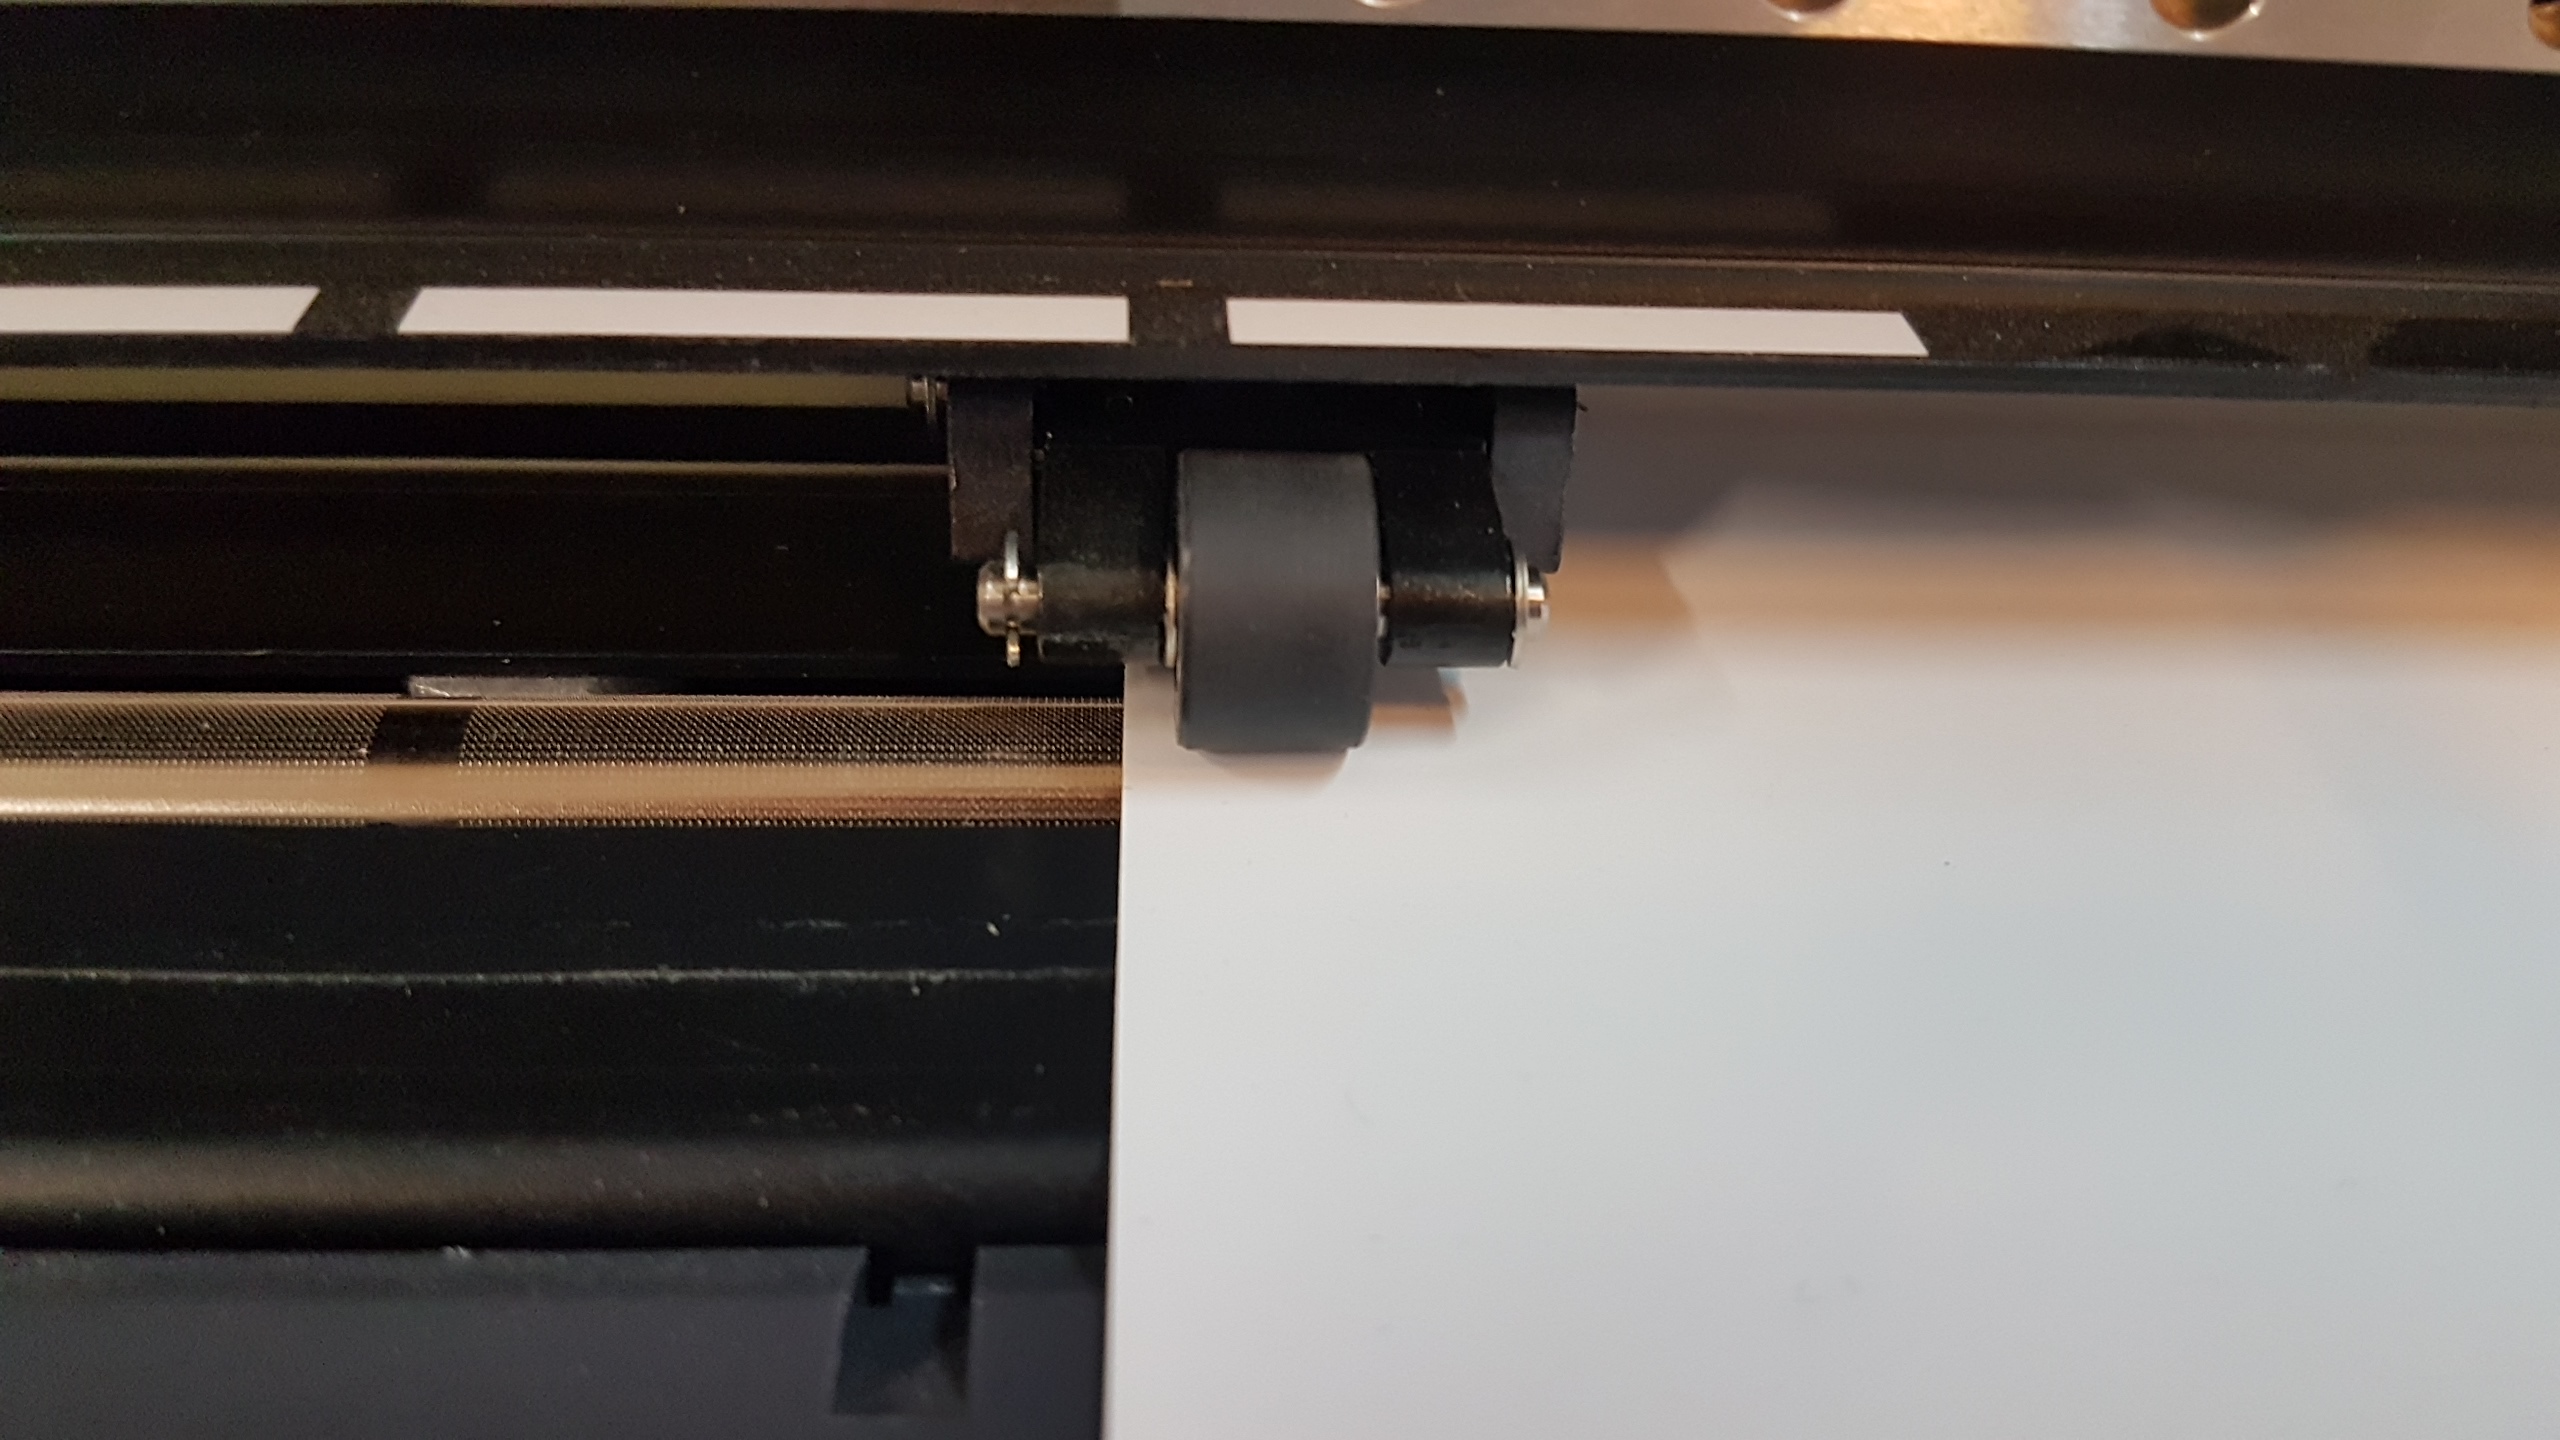
- Match the black rollers to according to the size of the film
- Roll down the film until the film covers the holes in front of the cutter
- Lock down the roll
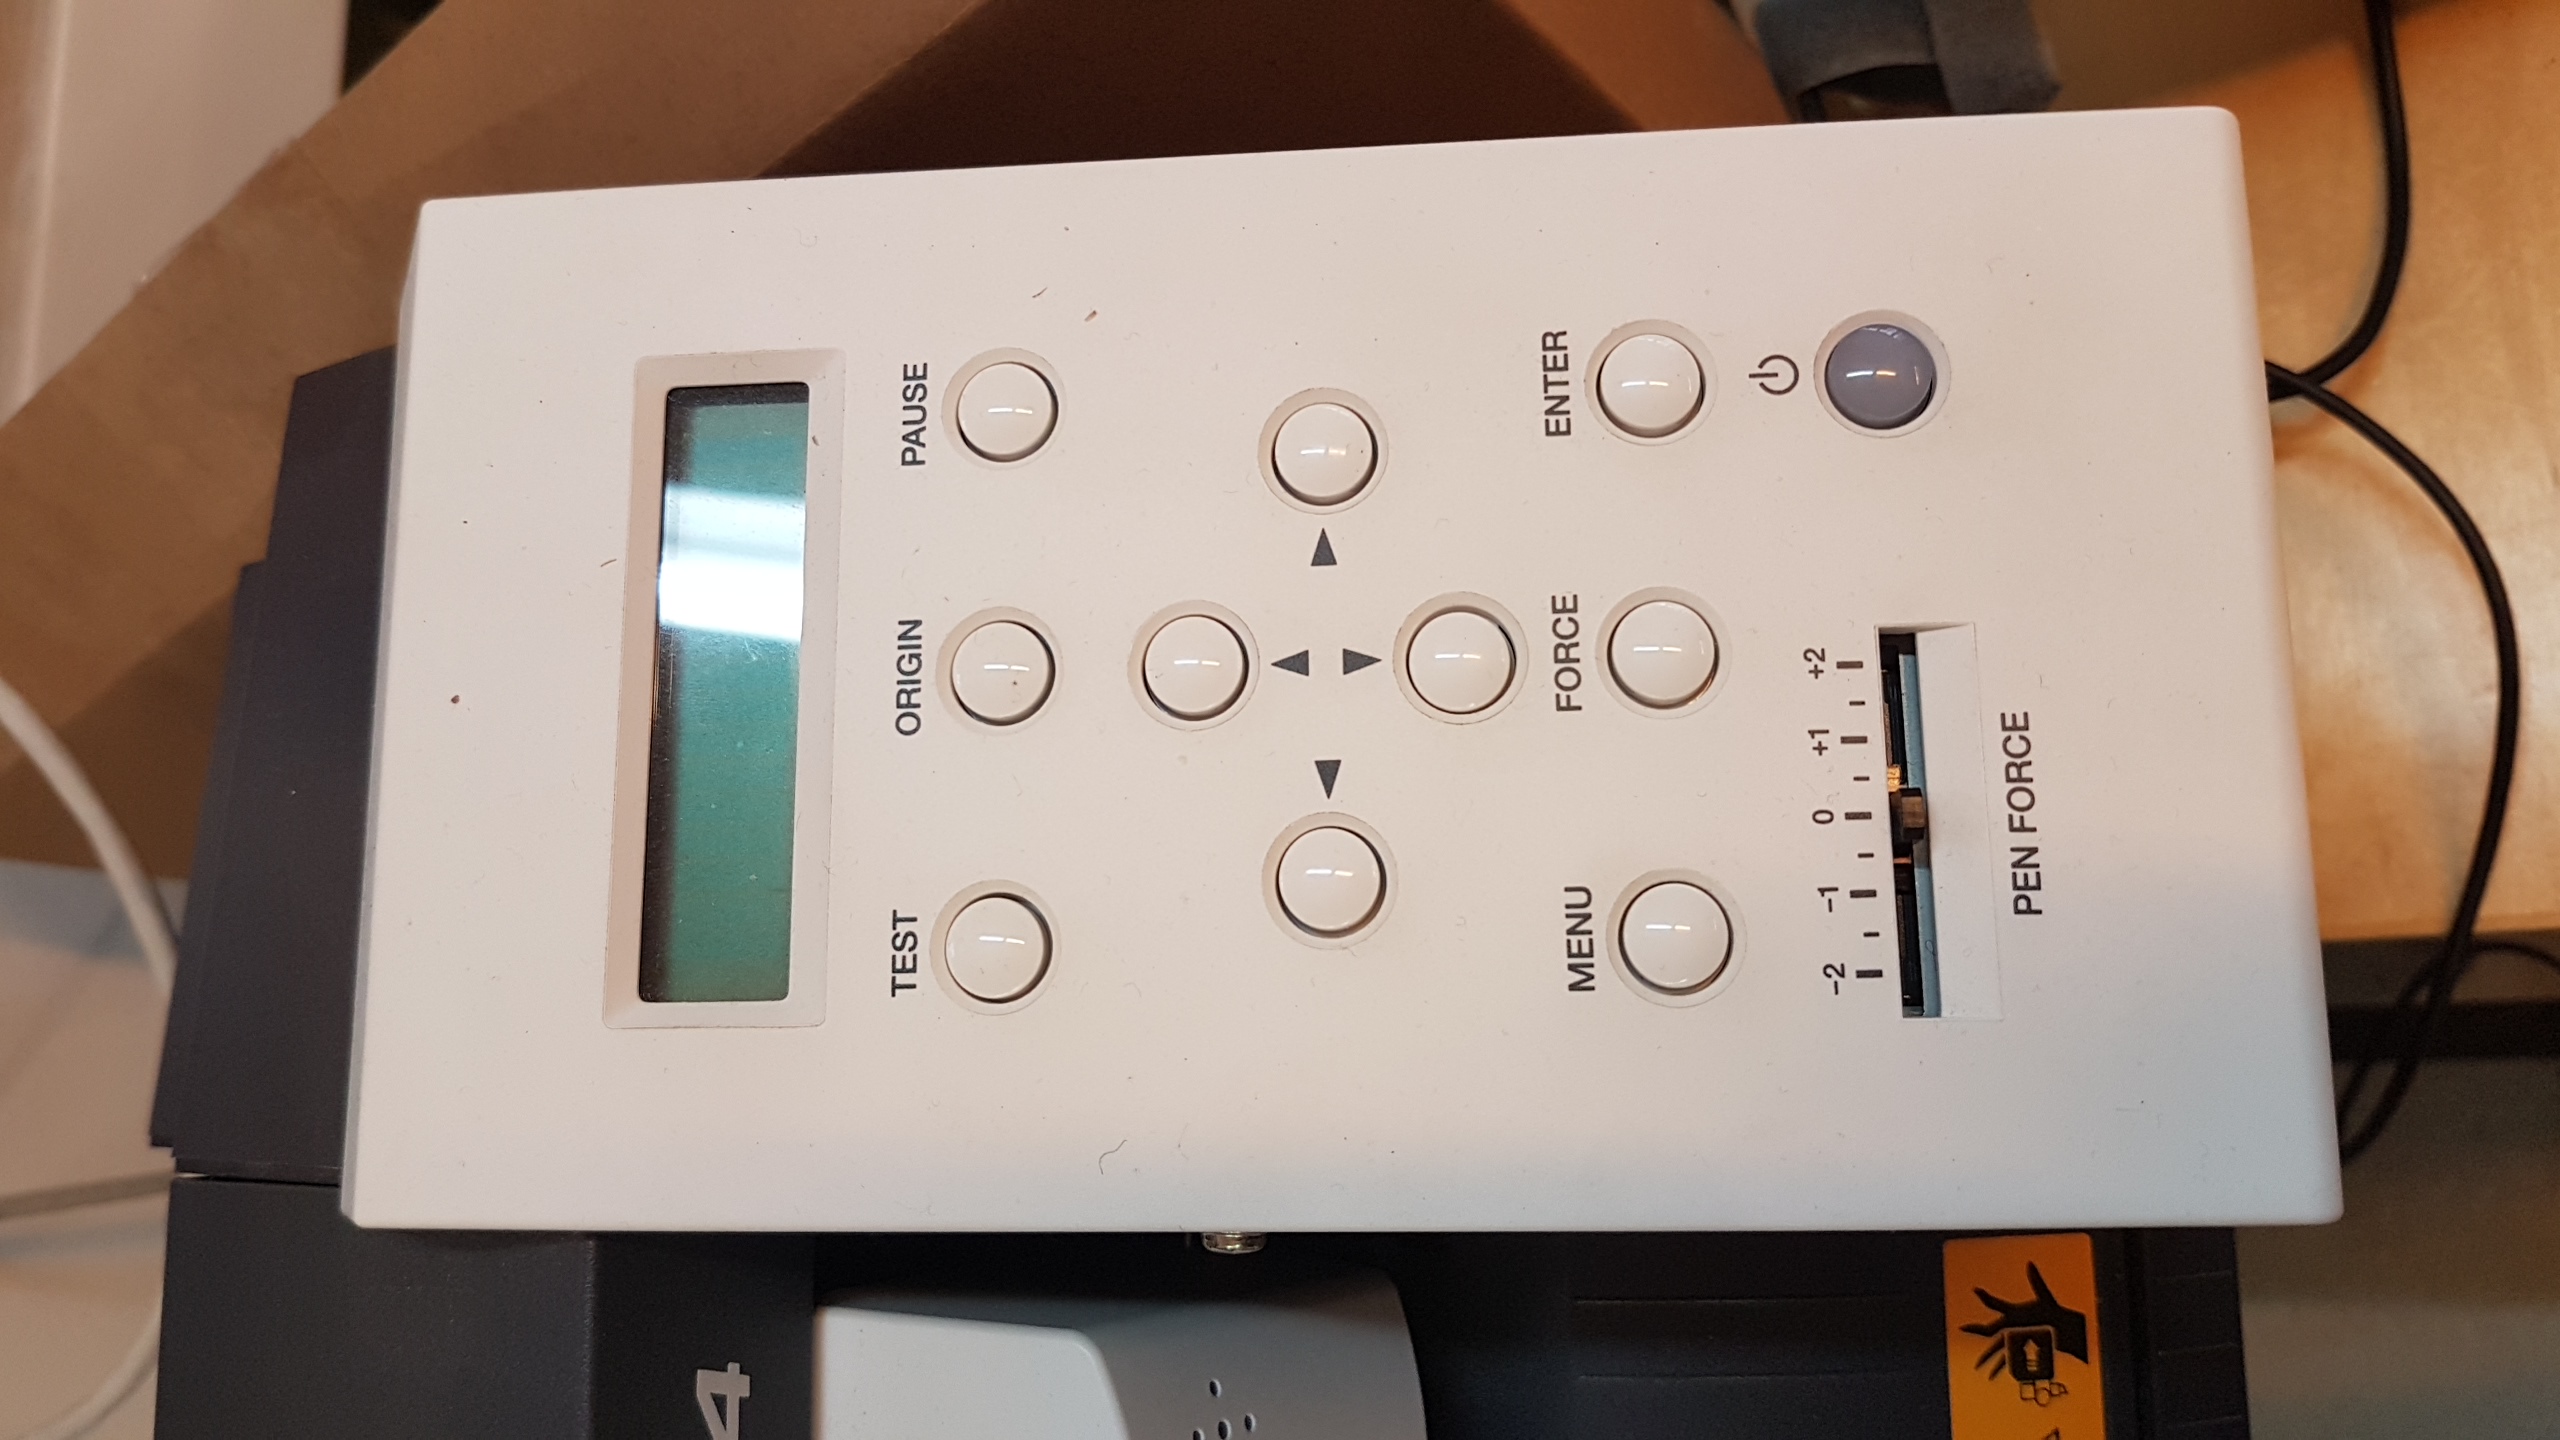
- Switch on Roland and let the machine configure the width of the film by pressing enter on Roland
4. Prepare cutting in cutstudio
- Instruct cutstudio to match the width of the cutting area from the machine
- Try to create the design or multiple designs so that entire width of the film is in use – every starting 10 cm of the film costs 2 euros (November 2017)
- When the print is ready, start cutting. Remember to mirror.
5. After cutting, roll down the film until it reaches the supporting stripe for cutting the entire width of the film. Use for example a stanley knife for cutting and try to cut a straight line. That makes starting easier for the next one on line.
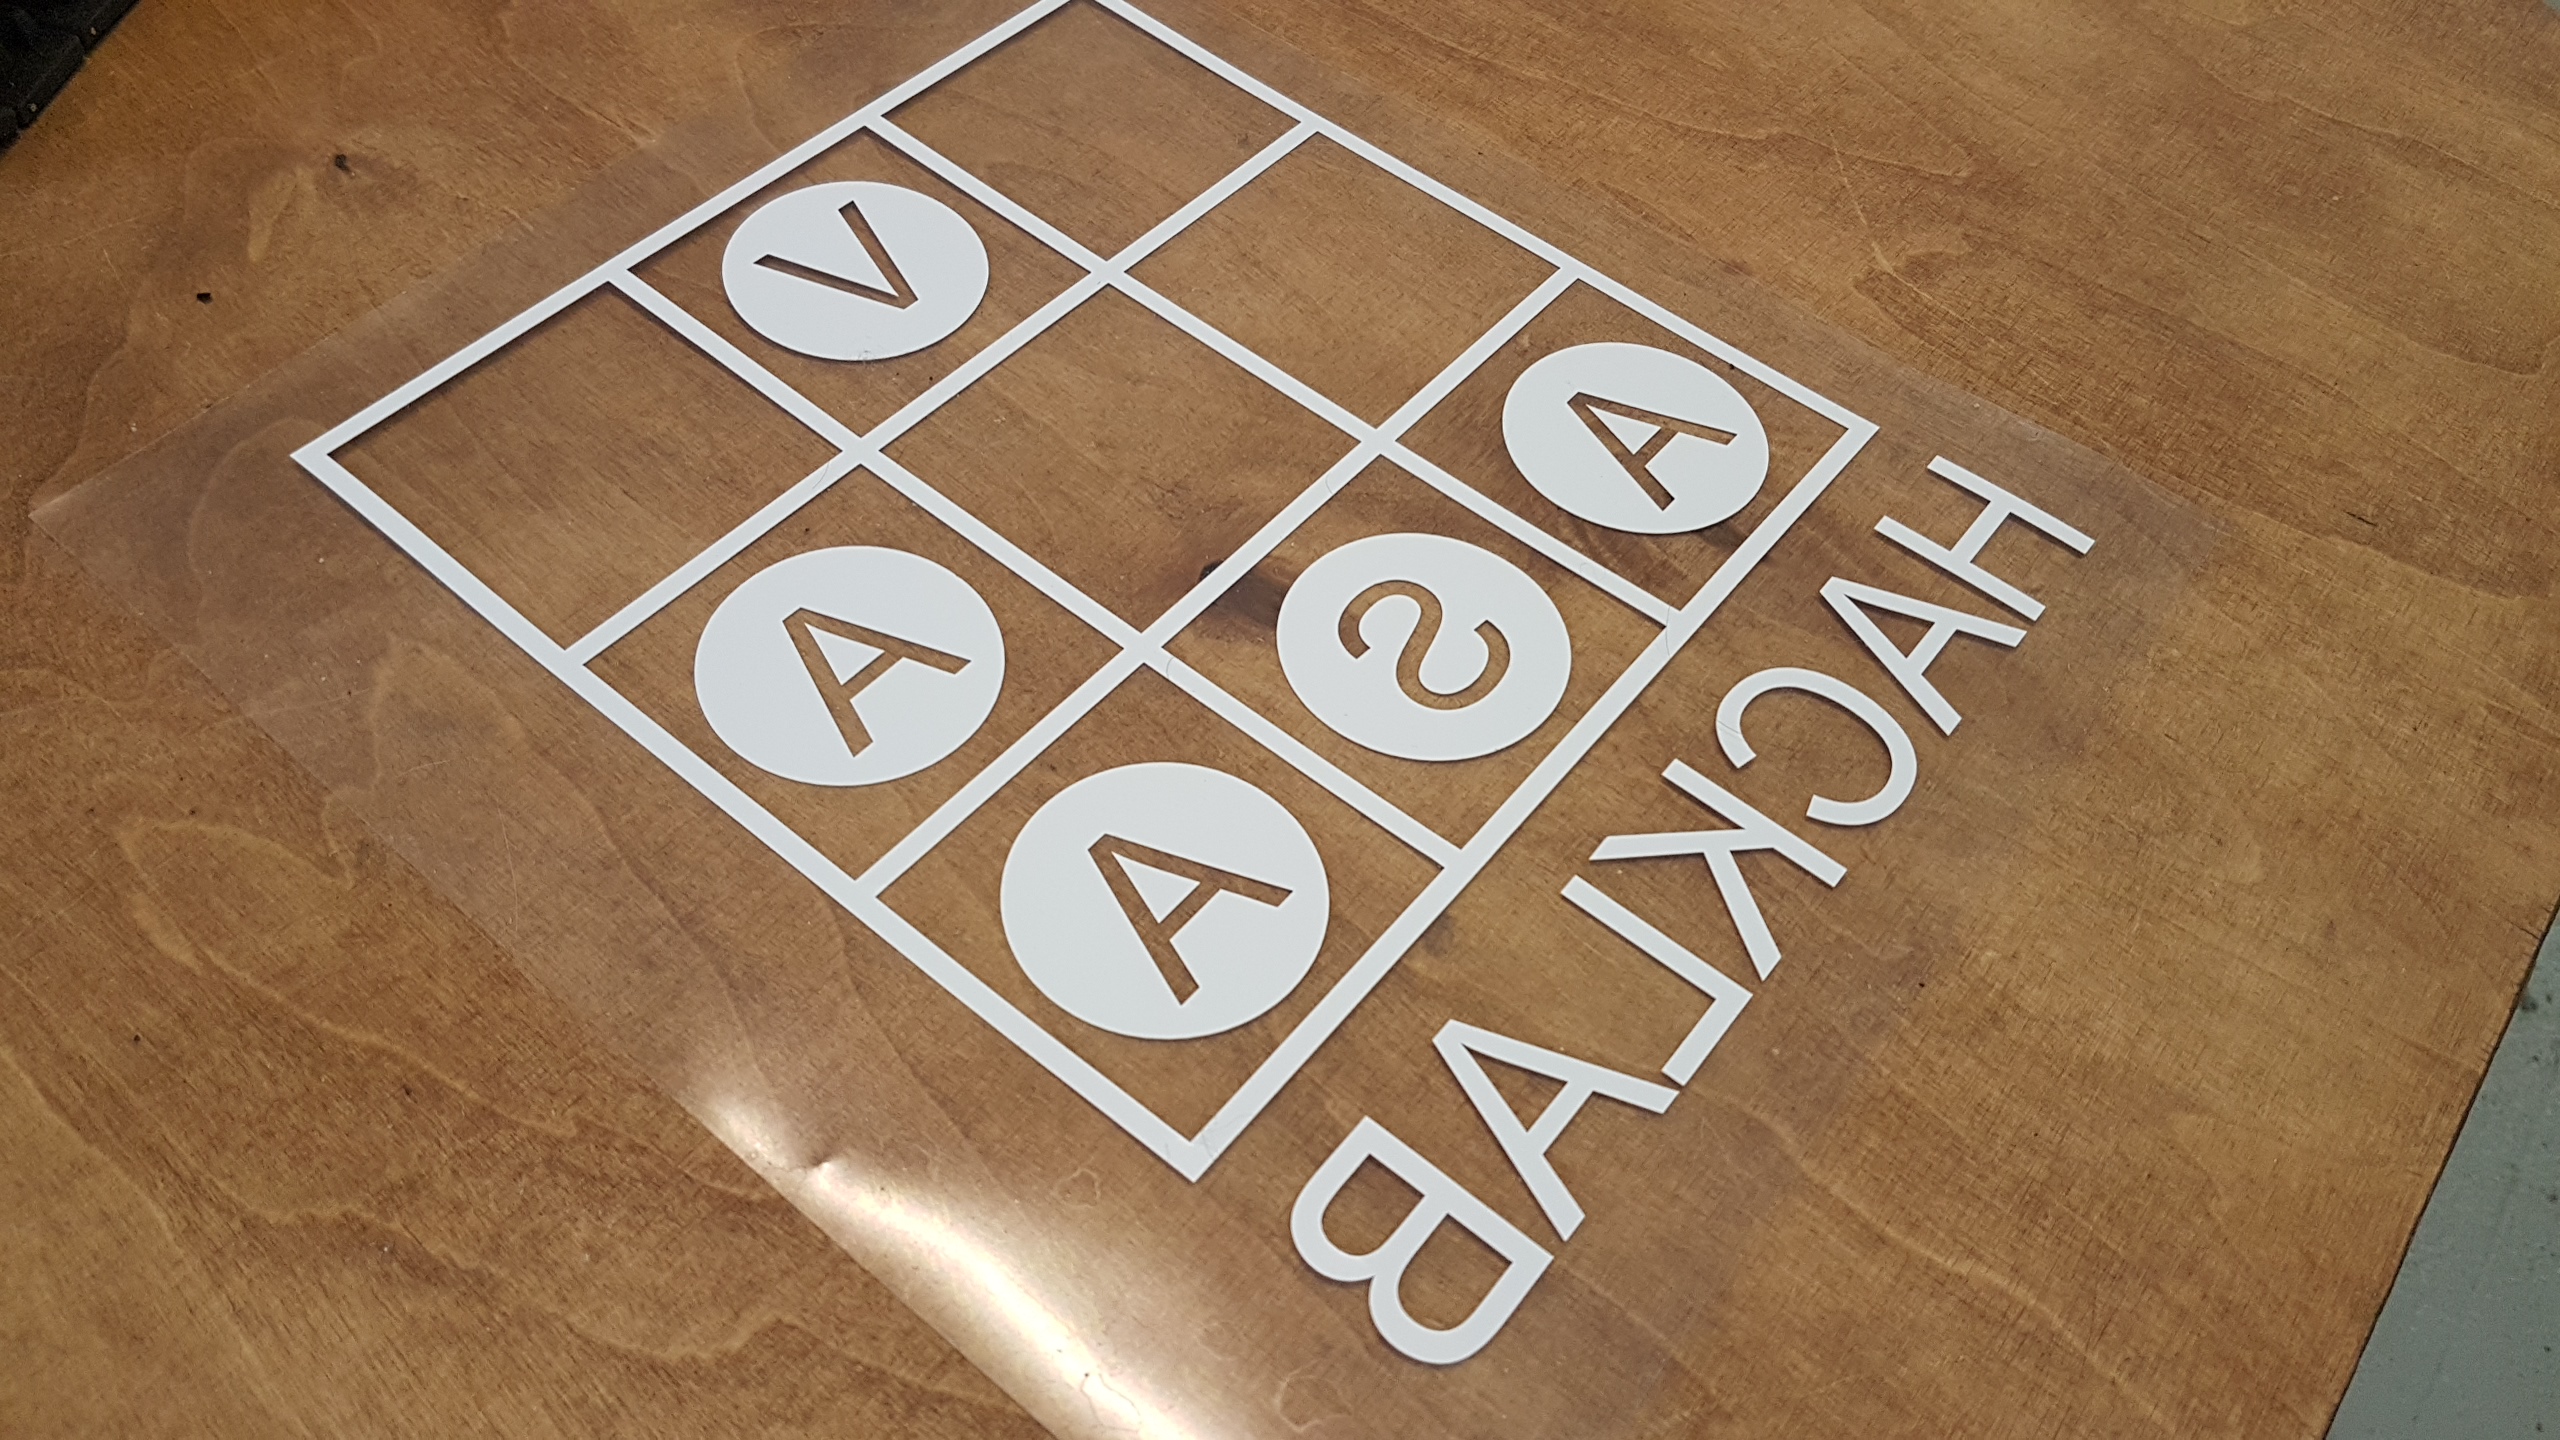
6. Peel away the parts that are not included in your print. Remember to peel down also the holes within the print. Stanley knife is a great tool to help.
7. Ironing the print to the fabric if used heat transfer film
- Pre-iron the fabric where you’ll be inserting the print to ensure it will be even
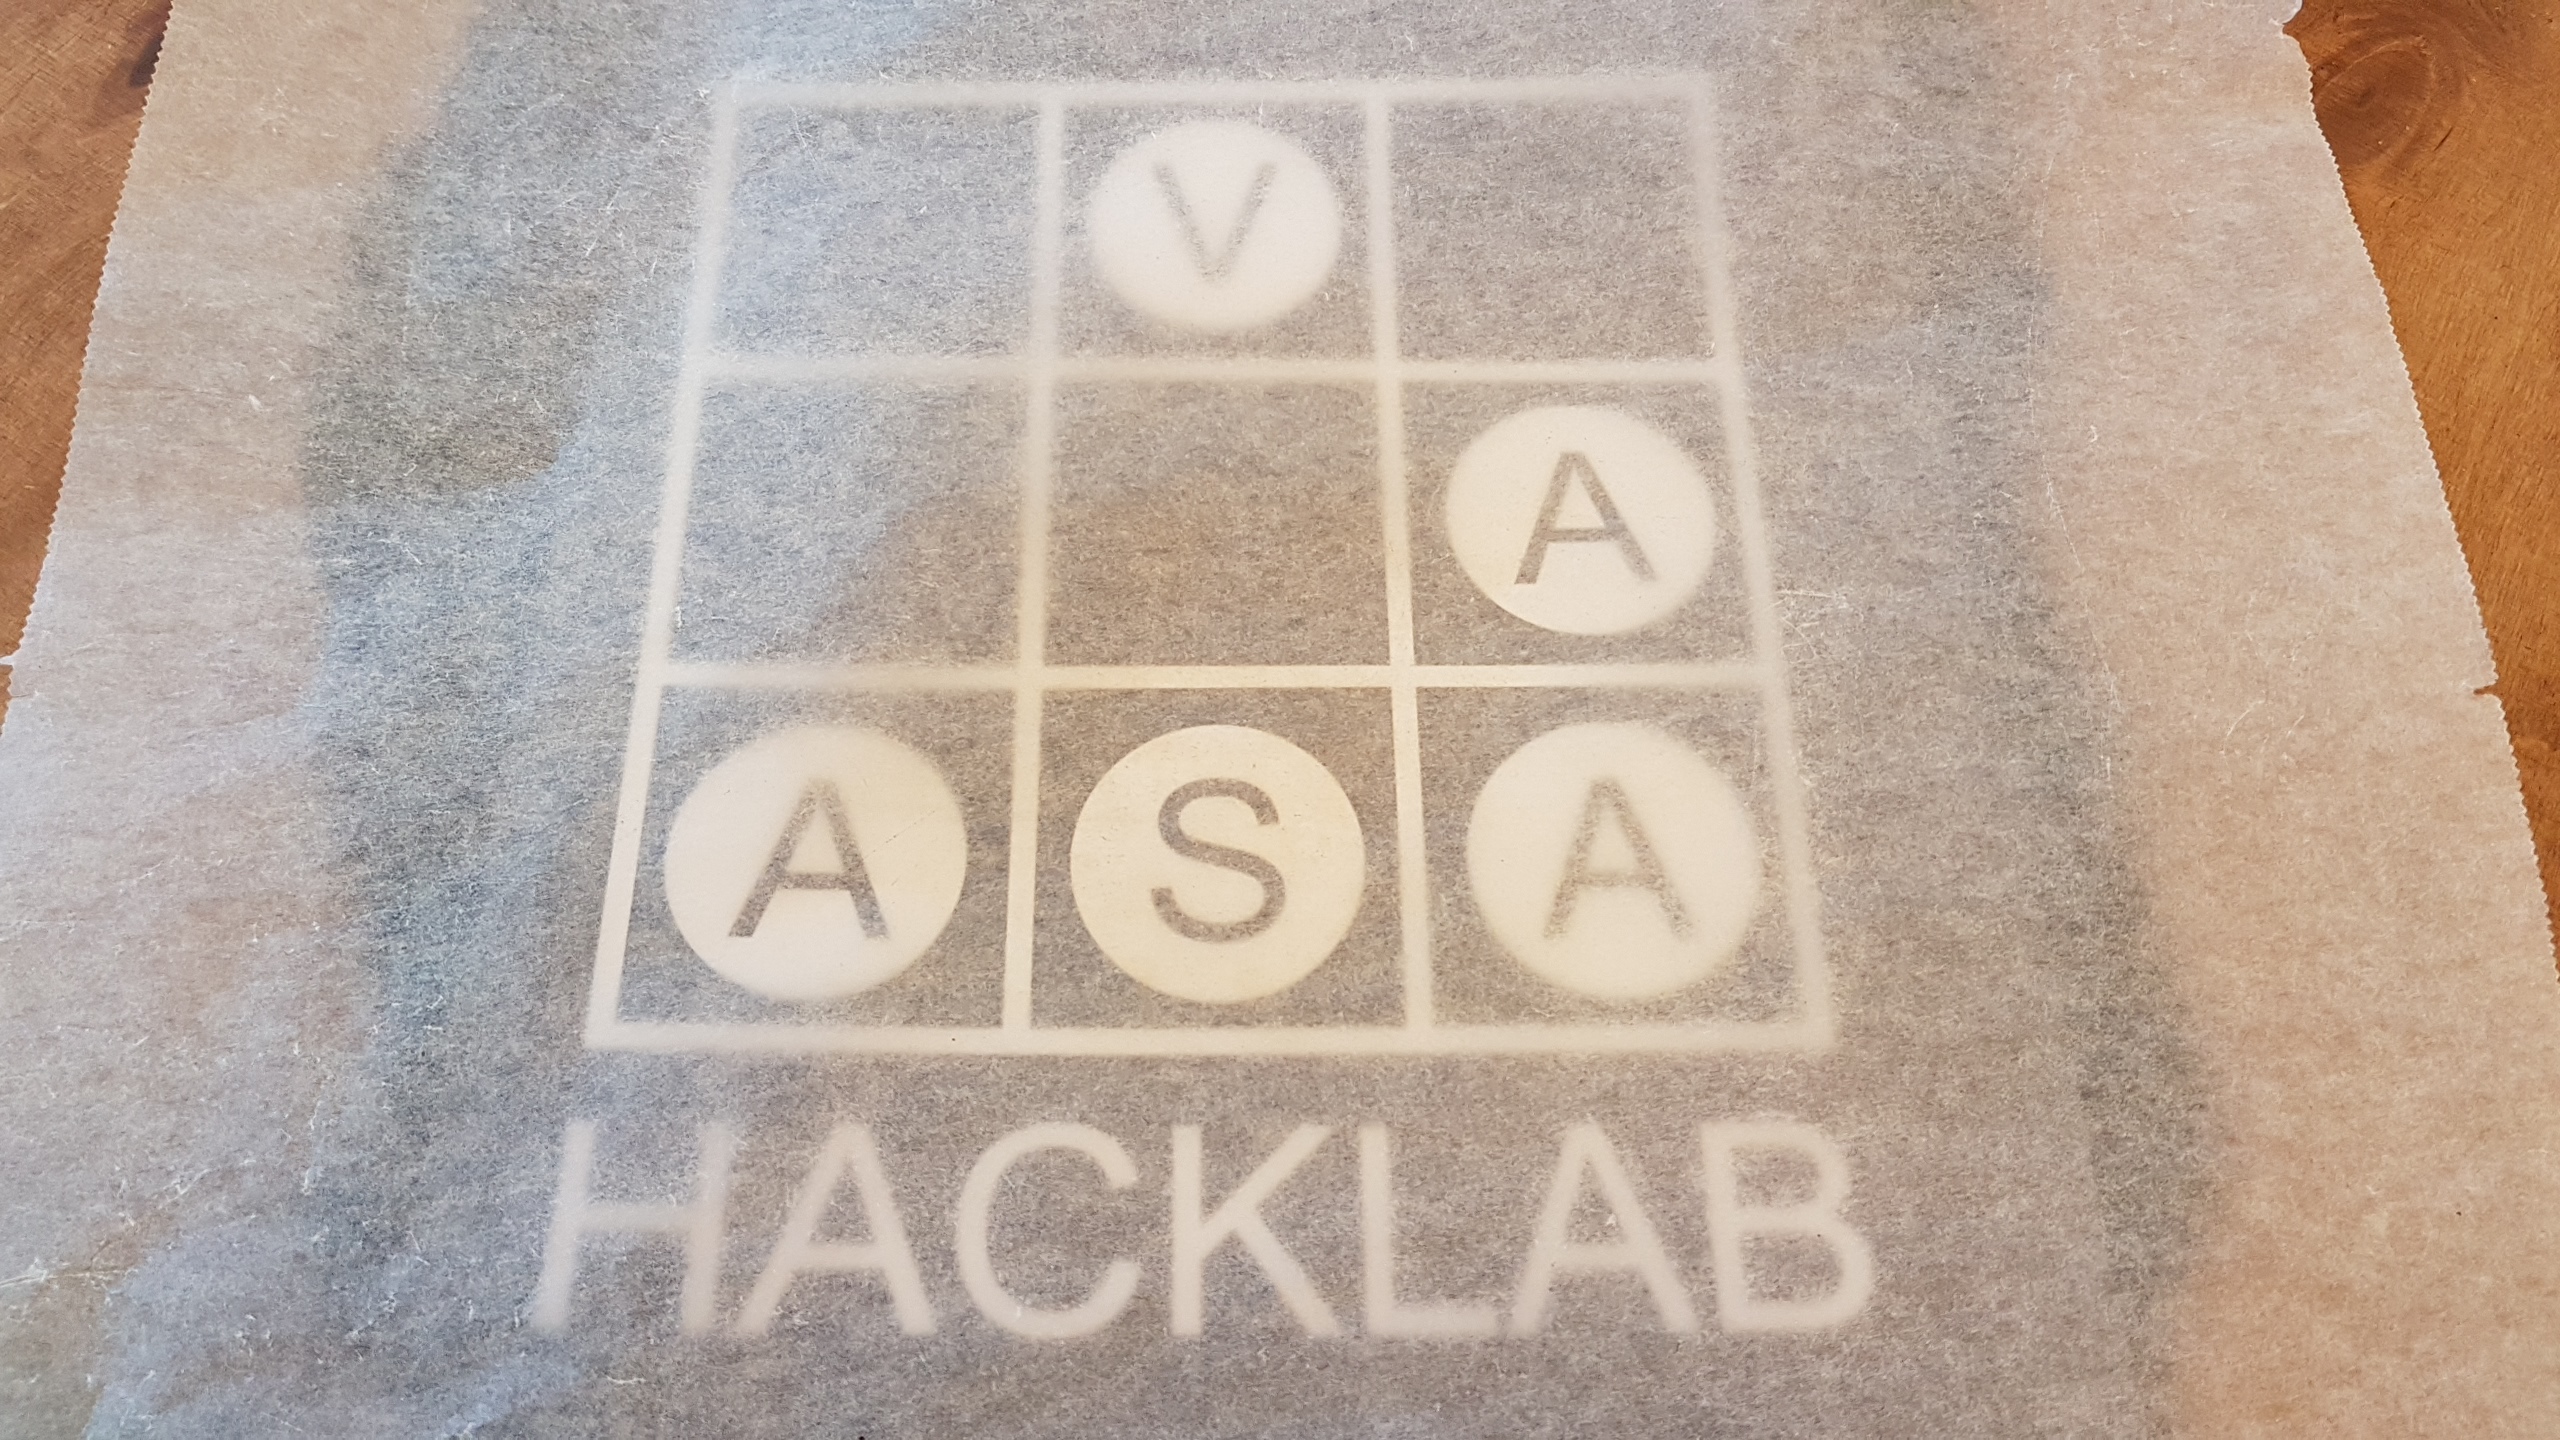
- Match the print in the correct position, the cutted side facing downwards
- Cover the entire print with baking paper to prevent plastic from sticking to the iron
- Iron the print to the fabric using approximately 2 dots on the iron. Do not let the plastic heat up too quickly to too unevenly.
- When you think you’re ready, coll down the fabric and peel of the plastic.
- If the film still sticks on the plastic, continue ironing.