Results of suprise workshop: Laser engraver fixing
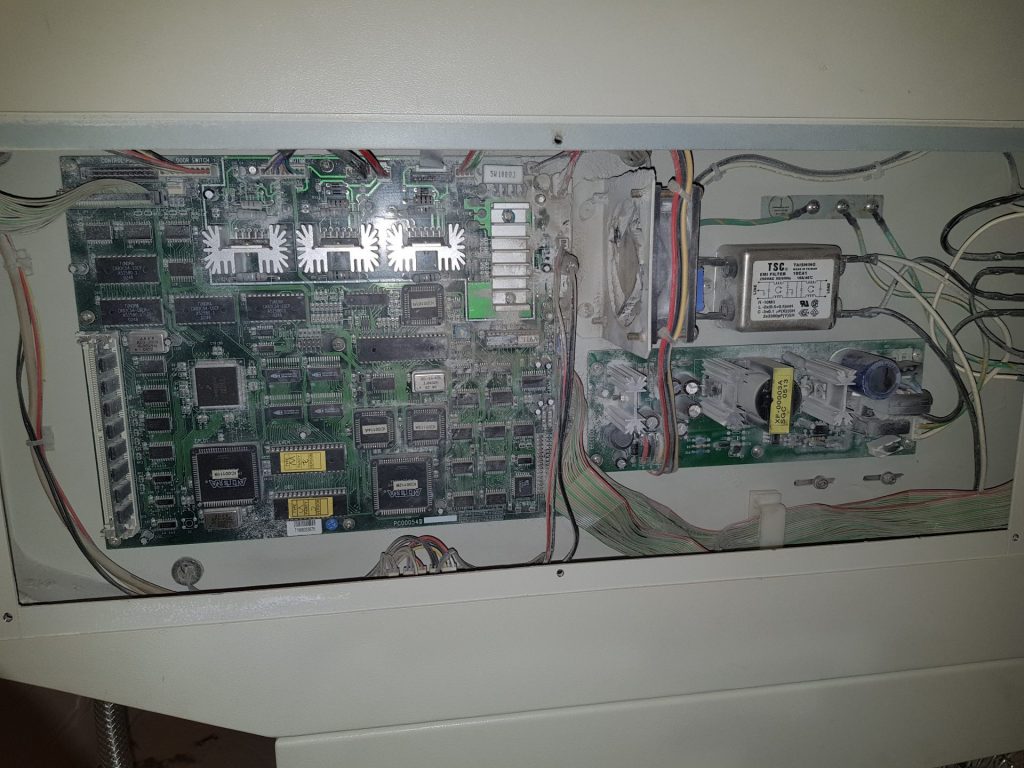
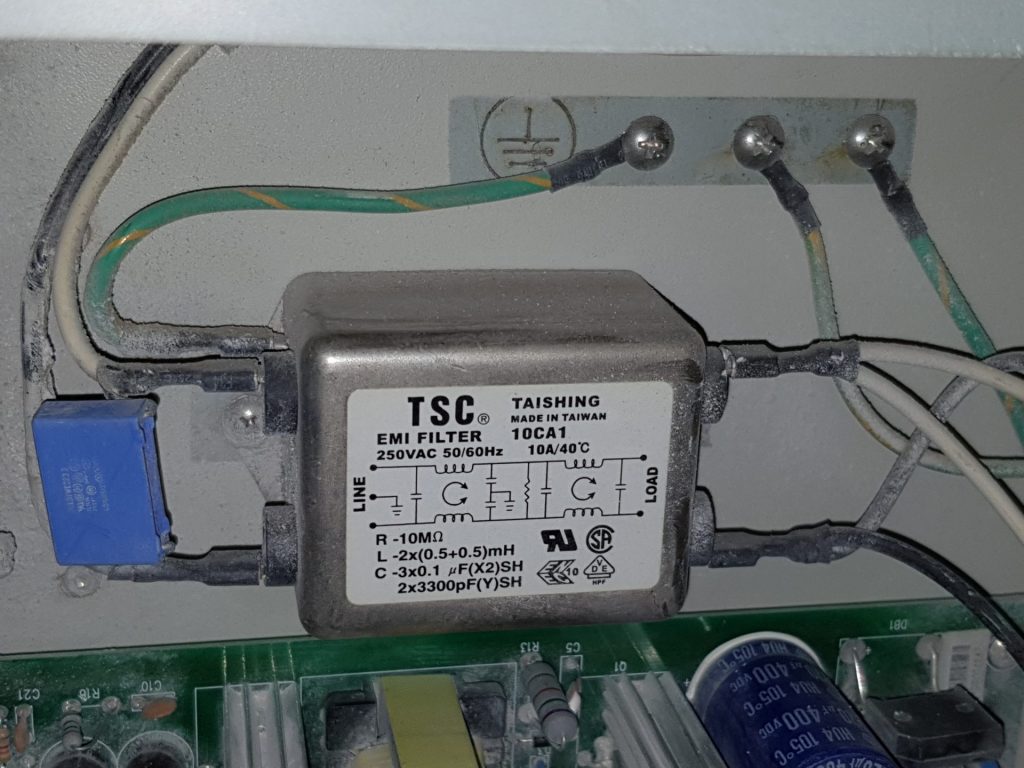
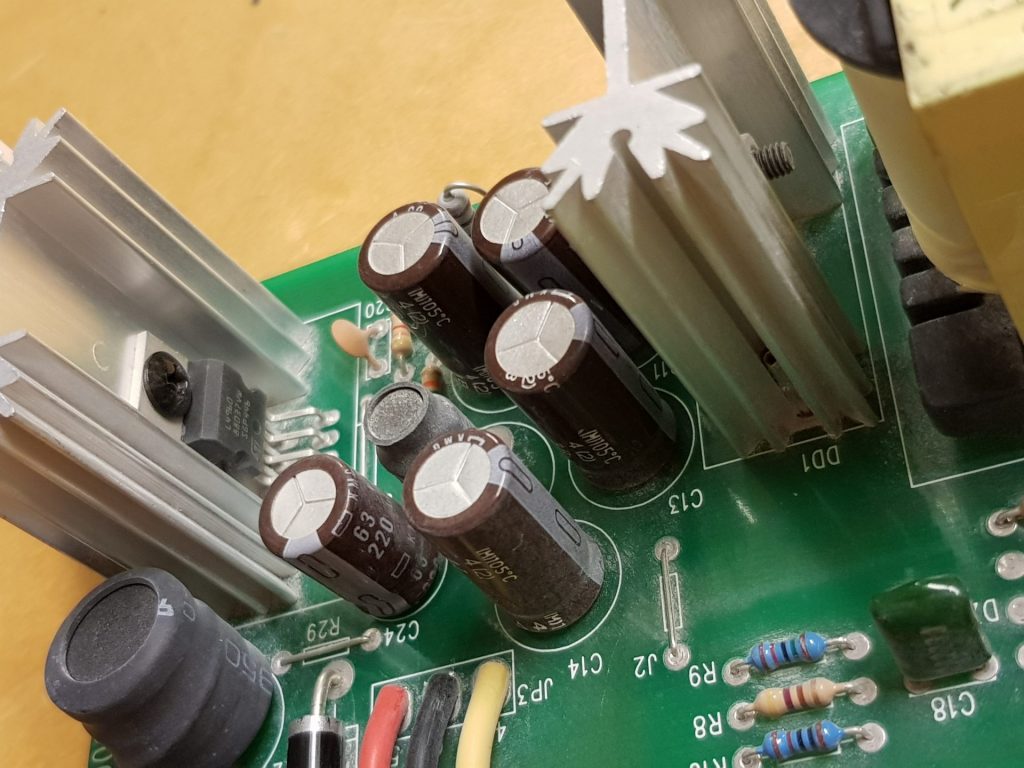
At last tuesday during daily activities our Laser engraver started to act up, and I immediately suspected power supply, because the machine would keep turning itself off and on by seconds. After quick dust removing and look I didn’t see anything obviously wrong on PSU board, like bulging or leaking capacitors or burned components. Due course of few days I first swapped all old electrolytic capacitors to new ones because they are still some 30 years old by this time. That didn’t solve the issue unfortunately so next I looked into transistor-like components as they can fail too. I didn’t find suitable replacements for all wanted components from local electronics store, but I did find adjustable VRM and suitable replacement for N-FET, or so I thought, as it turned out that otherwise identical or better performing FET replacement was metal-backed packaging, and attaching that to heatsink made testing PSU to immediately blow fuse from fuseboard at flick of an powerswitch… So re-replacing FET with insulated package variant made Laser engraver to boot up again! hooray!
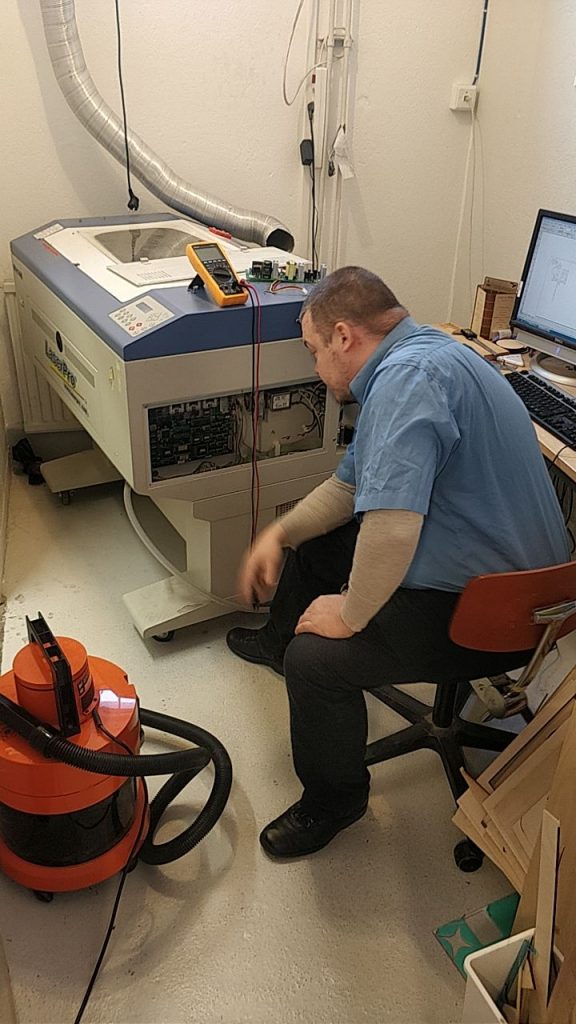
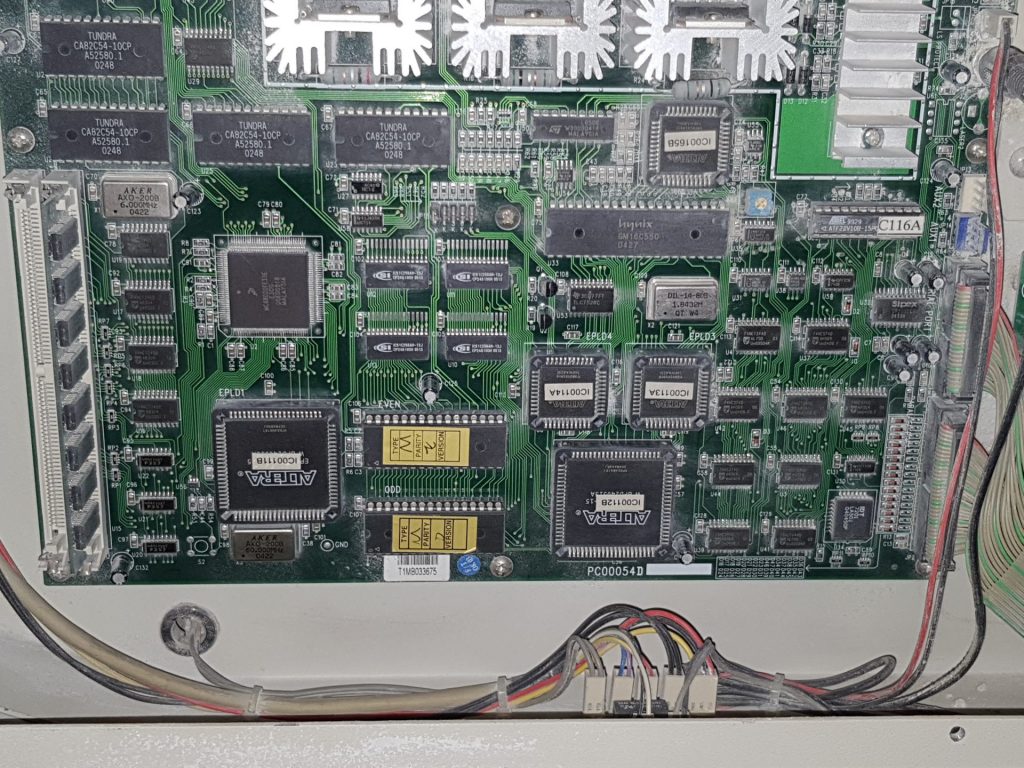
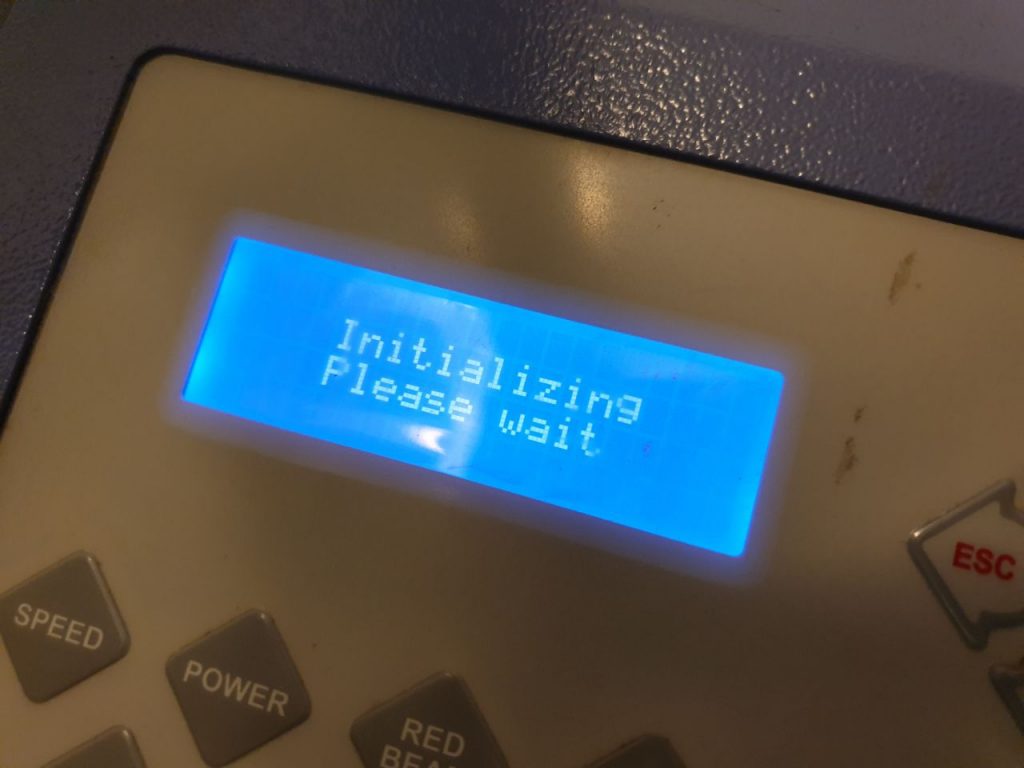
After the immediate fix on thursday I organised impromptu mini-workshop and saturday-evening at hacklab we gathered around with few members to do some cleaning and maintenance of the rest of laser engraver. Due the course of 6-7 hours we throughougly vacuumed every crevice we managed, cleaned stubborn dirt from PCB’s with Sinol, and especially cleaned all the wireconnectors and whatnot, and now the LCD panel seems to work more consistently too. We also swapped one of the buttons from frontpanel PCB as by some odd luck we happened to have exact same model of button laying around on hacklabs storage so it was easy soldering job. We also cleaned optical sensors that acts as endstops for X and Y axles and now engaver doesn’t complain about Y axle malfunction randomly at boot up anymore. Then we lubricated every moving part, roller and bearing and what a difference that made onto axle movement! Apparently that kind of maintenance should be done more often than once every… well.. we haven’t done this throughout maintenance ever ourselves and we got the machine almost exactly 4 years ago, and we don’t know when the last owner did anything with or to it as it was out of comission and end of life for them as a business.
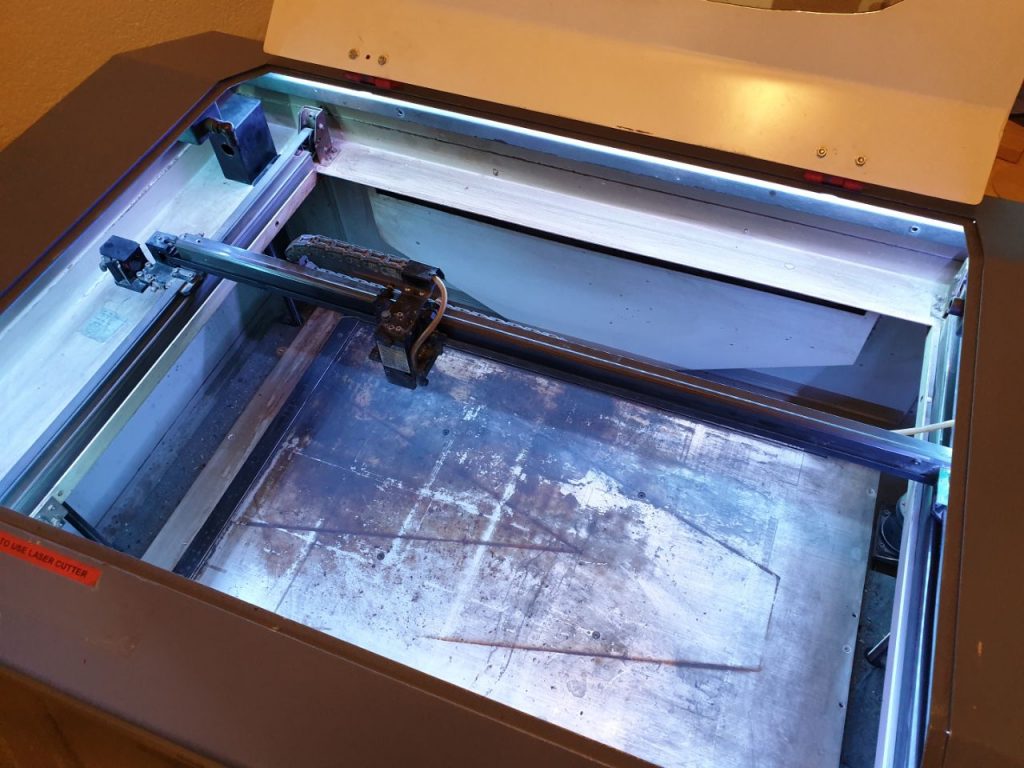
Then we also installed more LED-strips under the top-cover to light up working area, and we soon found out that it’s power brick that was literally branded as “Asian Power Devices” didn’t like the added load, so after its smoketest we replaced it with beefier genuine “Shin Zsu” branded one, and now we can also see what engraver is doing better through the lid.
And lastly we checked at least X and Y axles beam focus and we found out that Y axle’s focus between origo and maximum positions is out by quite an bit, this would explain why oftentimes especially when cutting larger plywood it goes through the plywood just fine on start but when going further away on Y axis laser will not cut through the plywood anymore. We did not yet fiddle with refocusing the beam as the process is quite involved and time was starting to be middle of the night, but now we know what to do with that.
Here is various pictures from doings, components and whatnot that we took on the course of everything.



That was a typical Hacklab session!
The session involved teamwork, expertise, and dedicated will to succeed.
Congratulations!
Thank you!