Laser engraver improvements, and a thing we still need
Hello!
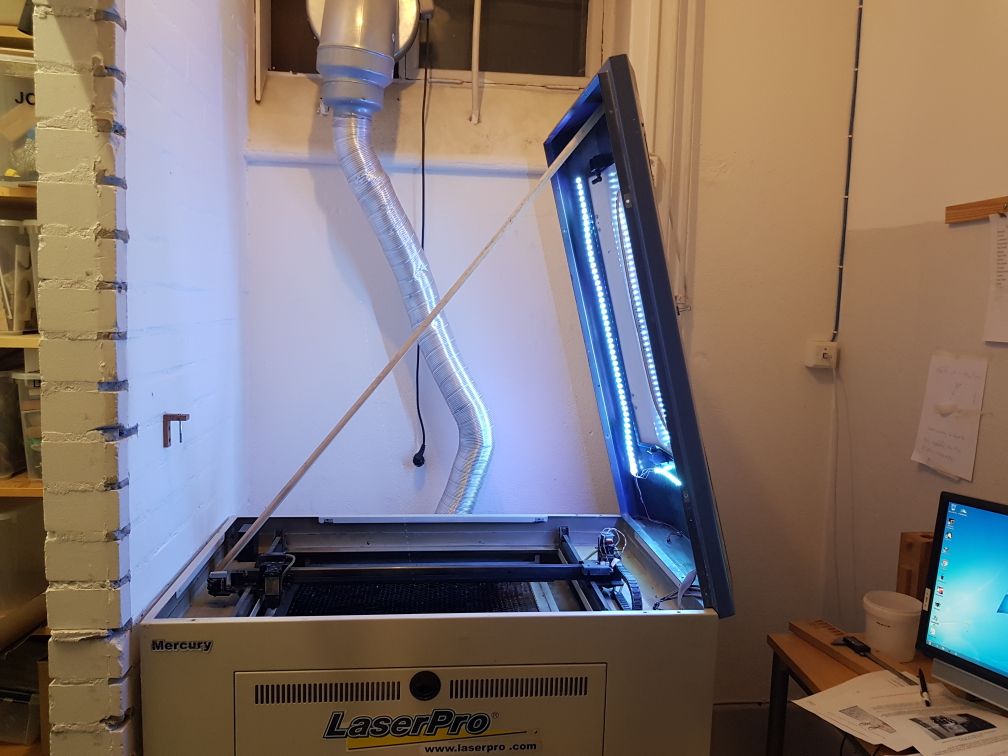
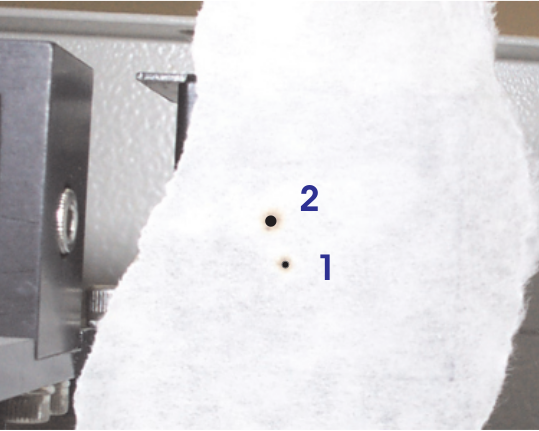
When we emergency fixed our laser engraver about an year ago we also figured out that beam alignment was way off… Today I’m happy to say that our laser engraver now works like an charm again and not like dull lemon! First focus was quite literally adjusting the mirrors that laser beam path goes straight lines universally across whole working area of engraver, which ensures laser focus stays at same height on whole working area. It wasn’t that hard, but quite involved task.. First task was to take Mercury’s top half away so tools and human head can fit to anywhere where needed to. Then boot Mercury into maintenance mode and fire test beam to piece of tape on Y-axis path, go to other extreme end, fire again, loosen the mirror horizontal locking screw, adjust set screw some, tighten the lock screw, do same for vertical positioning, put new tape onto laser beams path and repeat test pulses, and adjust again.. Repeating this until got one burn mark on the tape, meaning laser is firing onto same position across whole axis. And then do the same for X-axis all over again. All this after getting proper inhex key from store because of course we didn’t have the one correct size, but only ten wrong ones, like it is with all the small tools 🙂
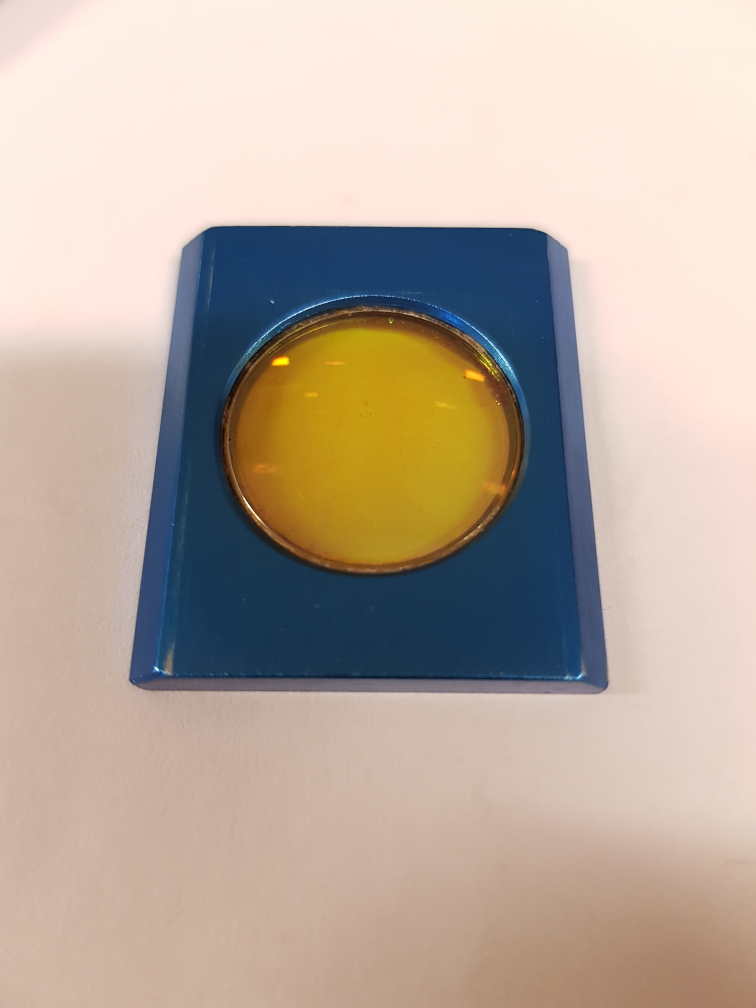
When that part was done I needed to check how the now adjusted beam go through final focusing lens and this is when I also discovered why there are thumb screws in the final assembly’s cover, it is for easy removing of lens and cleaning it… I knew lens has yellow-brownish tint to it, but this time it looked mostly black.. It had some 2 years worth of soot and crud covering it.. No wonder cutting abilities were so low…
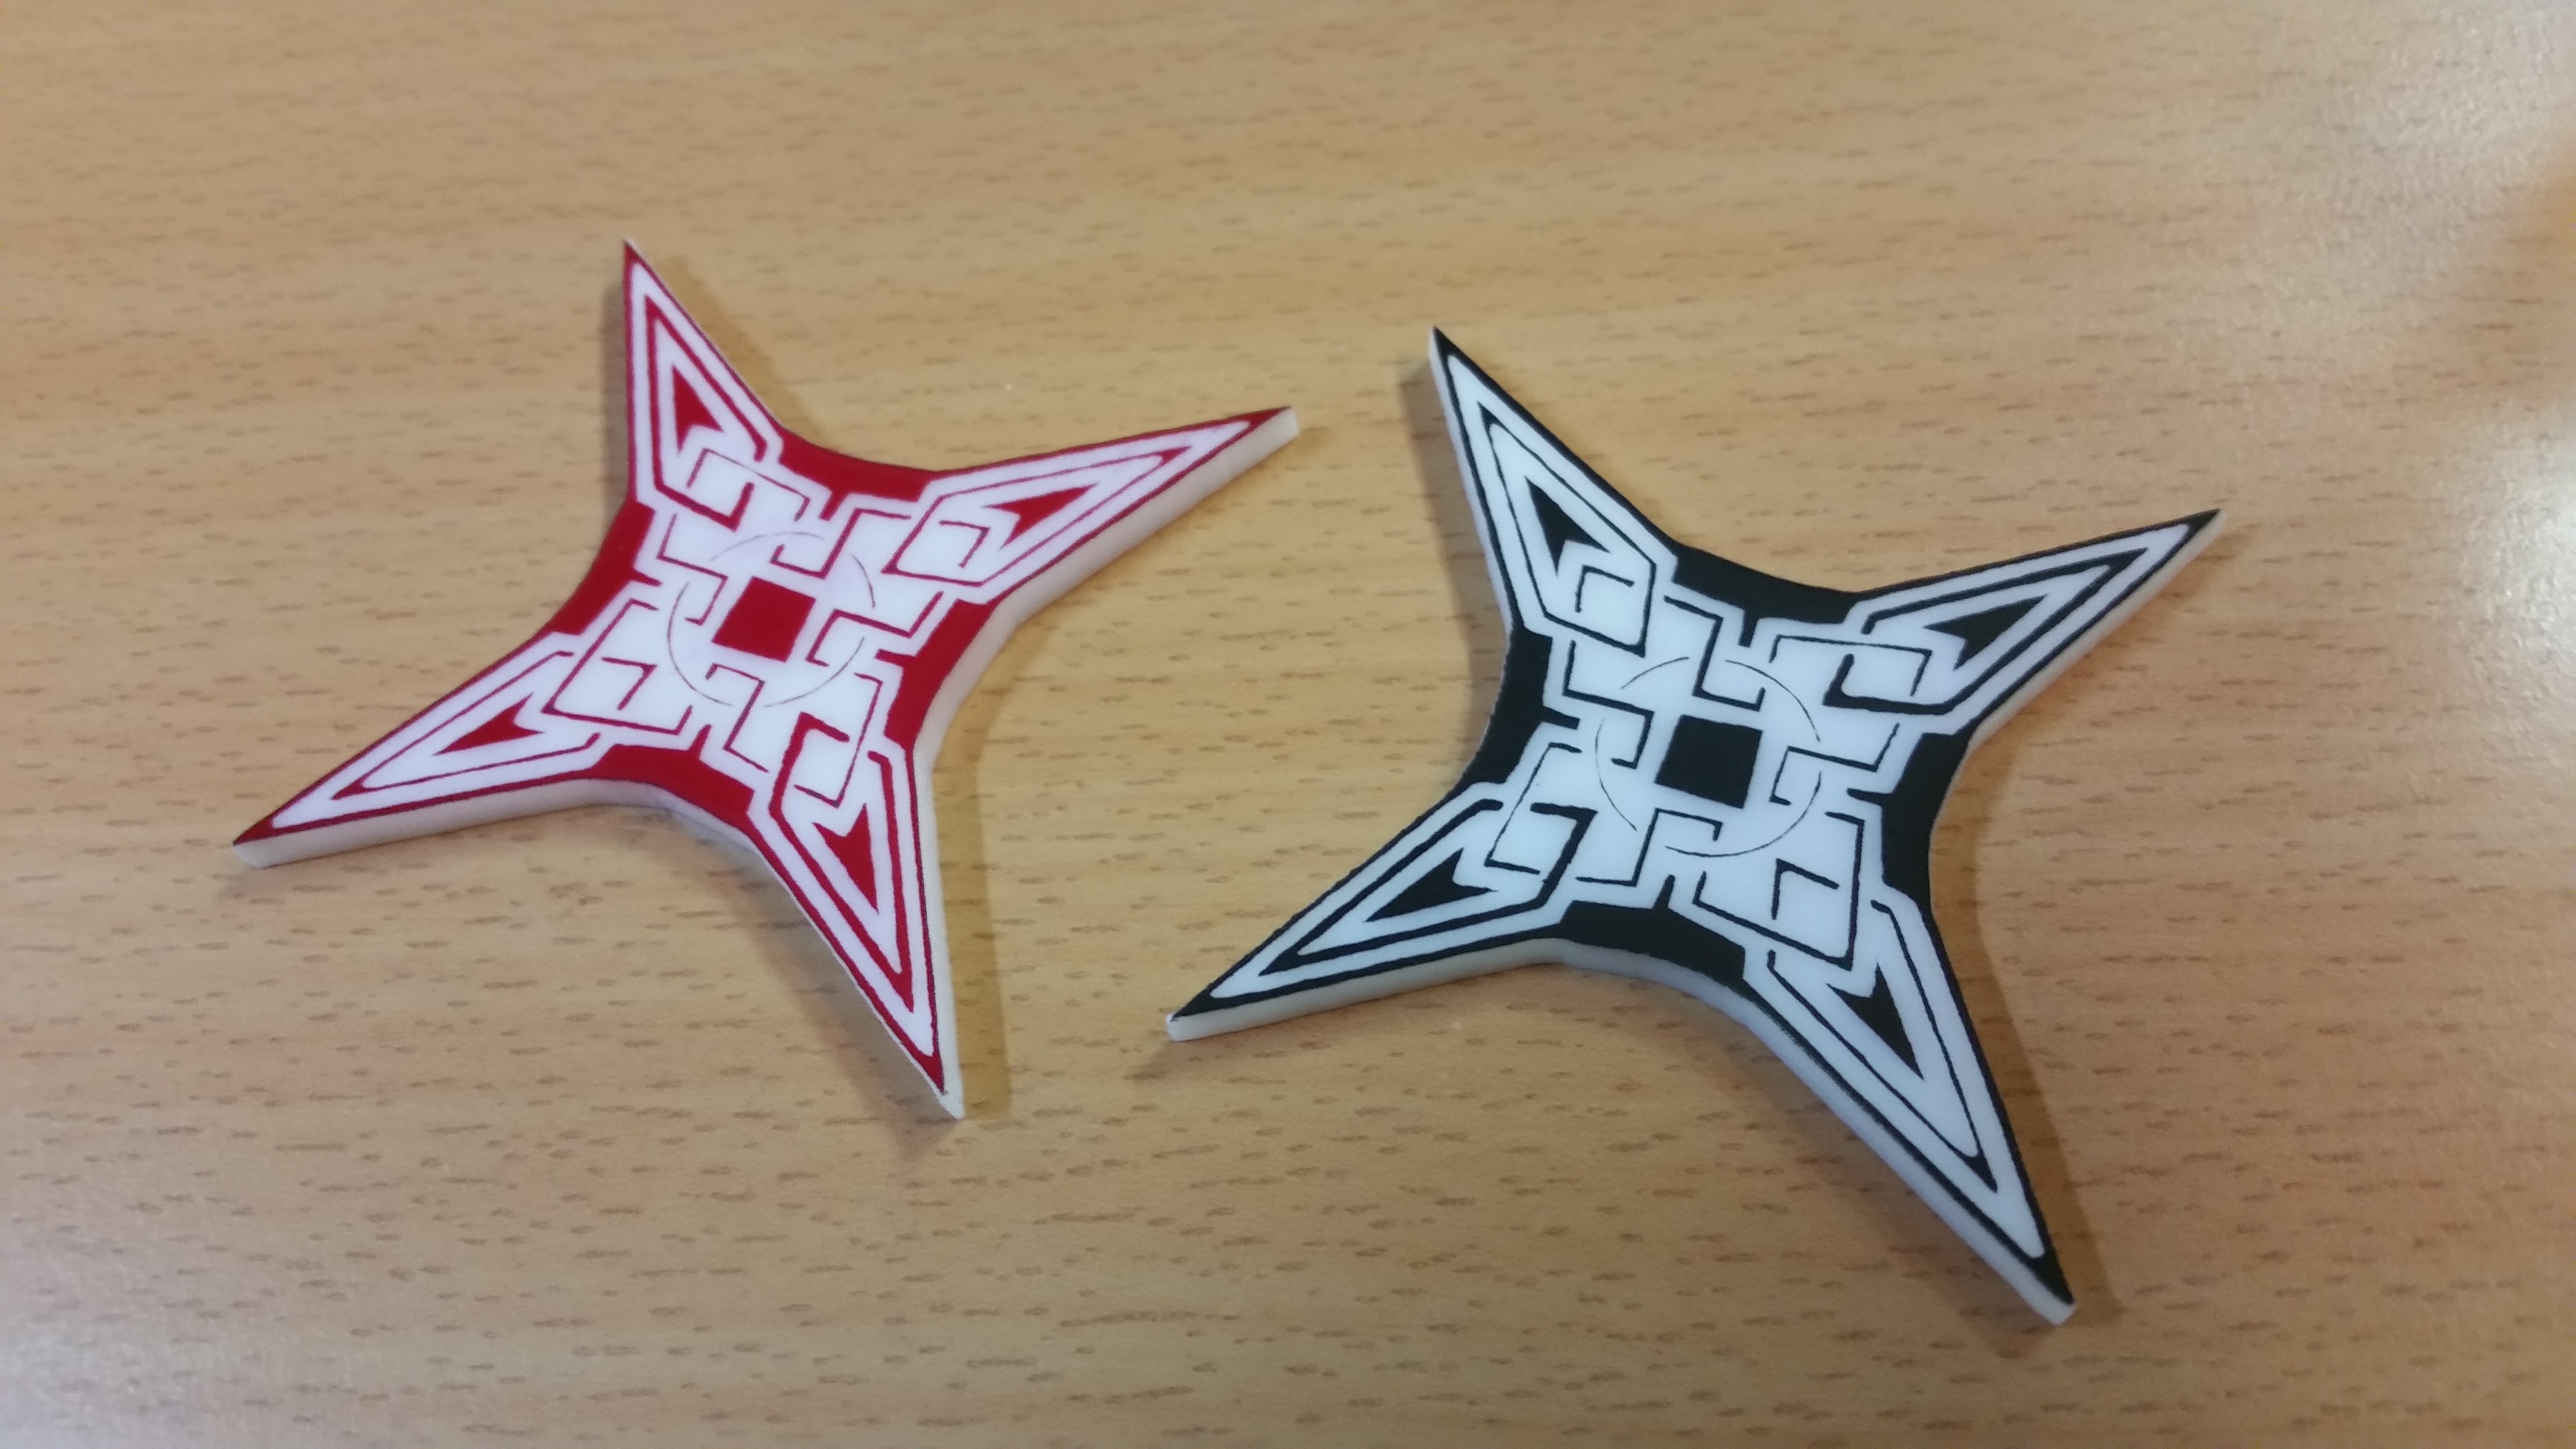
After all this was done, now the thing cuts through the plywood like an hot knife through butter, and in whole working area too!
which brings me to the final part, we desperately need some air compressor to perform, what the user manual calls, air assist. It should be simple air compressor that just pumps air through an hosing to business end of laser engraver to keep any smoke and other burning products away from the just cleaned focusing lens. Last chinesium 30€ pump gave up spectacularly some time ago, so now we don’t have any… So do look out for some nice air compressors, please 🙂

Lasers can be apparently serviced like cars

These should be on same spot

Oh the focal lens is THIS color!


Hi,
I see that you have done a lot of repair to your Mercury Laser Cutter. I actually have the same model and it was working well, then it started giving an error that suggested that the firmware may be acting up. When I updated the firmware, it appeared to have some issue, and now the system doesn’t appear to start up at all. The display remains blank and it no longer goes through the homing process when powered on.
1.) I suspect that the control firmware needs to be reflashed onto the EEPROM, but I don’t know how to do that when it won’t load into the bootloader mode.
2.) I don’t know if you would have any suggestions on where to start looking for possible hardware issues that could cause this.
Since you have really rebuilt yours, I thought you may be able to help.
Best,
Justin
Hi. We have no experience with firmware side of these. Can you check if power supply is still working and giving out correct woltages?